Installation
Installing Q2: agent interface
Q2 can be used in both ESM (ECMAScript Modules) and legacy JavaScript projects. To get started, you’ll need a Chat API key, which you can obtain by following the steps outlined here.
To integrate Q2 with your website, you’ll first need to create a service in our web application. You’ll then link this service during the API key creation process.
ESM projects
- Install the library in the project
npm install swytchcodeor
yarn add swytchcode- Then inside the project, whereever you want to embed the library
import { Swytchcode } from 'swytchcode';
export default function Home() {  return (    <Swytchcode      apiKey="YOUR_API_KEY"      borderColor="#3b82f6"      height="600px"      width="100%"      initialMessage="Welcome to the Swytchcode Chat Library!"    />  );}
Legacy projects
-
Download the latest library here https://cdn.jsdelivr.net/gh/swytchcode/[email protected]/public/swytchcode.es.js
-
Call the library inside the project
<!DOCTYPE html><html><head> <script src="https://cdnjs.cloudflare.com/ajax/libs/prism/1.29.0/prism.min.js"></script> <script src="https://cdnjs.cloudflare.com/ajax/libs/prism/1.29.0/components/prism-typescript.min.js"></script> <link href="https://cdnjs.cloudflare.com/ajax/libs/prism/1.29.0/themes/prism-twilight.min.css" rel="stylesheet" /></head><body> <div id="chat-library"></div> <script type="module"> // Import React and ReactDOM as ES modules
// Import the Swytchcode component import {Swytchcode} from './swytchcode.es.js';
try { // Initialize the component const root = ReactDOM.createRoot(document.getElementById('root')); console.log('Root element:', document.getElementById('root'));
root.render( React.createElement(Swytchcode, { apiKey: 'YOUR_API_KEY', // Replace with your actual API key theme: 'twilight', height: '80vh', width: '100%', initialMessage: "Hello! I'm your AI assistant. How can I help you today?" }) ); } catch (error) { console.error('Error in script:', error); document.getElementById('root').innerHTML = `<div style="color: red; padding: 1rem;">Error: ${error.message}</div>`; } </script></body></html>Installing VSC plugin
- Go to VScode Extension marketplace in your VScode or directly visit here. Please ignore steps 2 and 3 if you are installing from the provided link. Instead follow the onscreen instructions. Read on, if you are on VScode
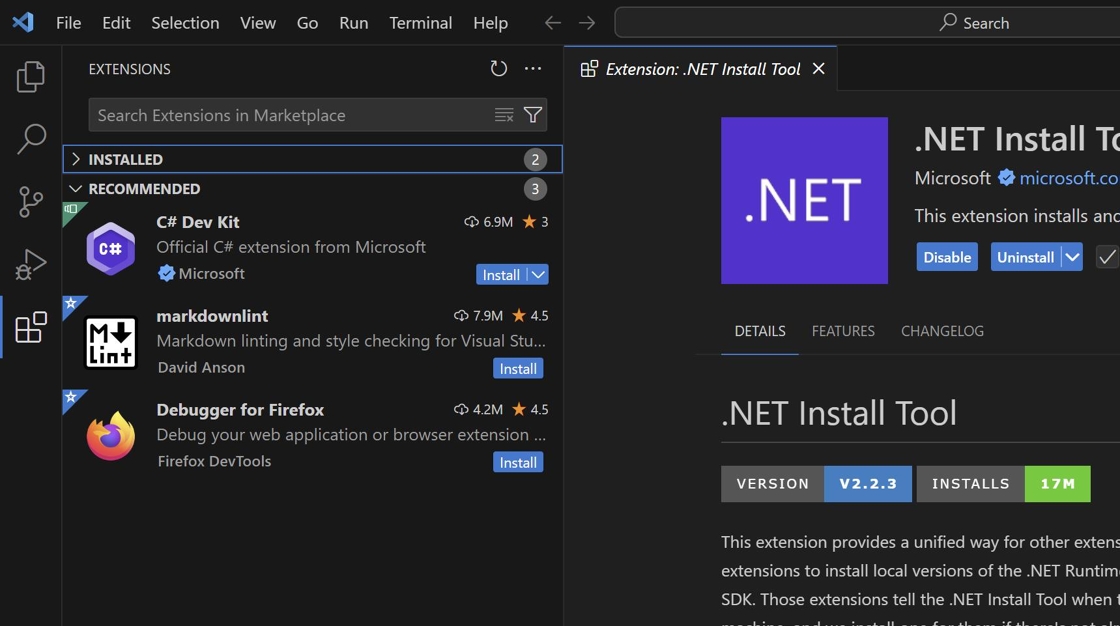
- Look up “Swytchcode”
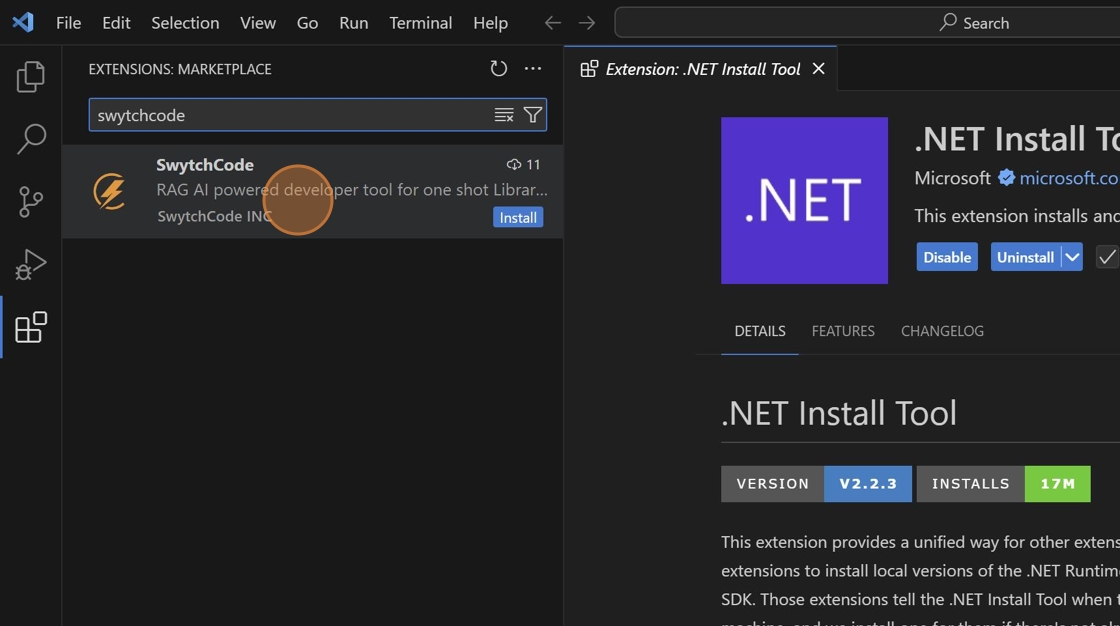
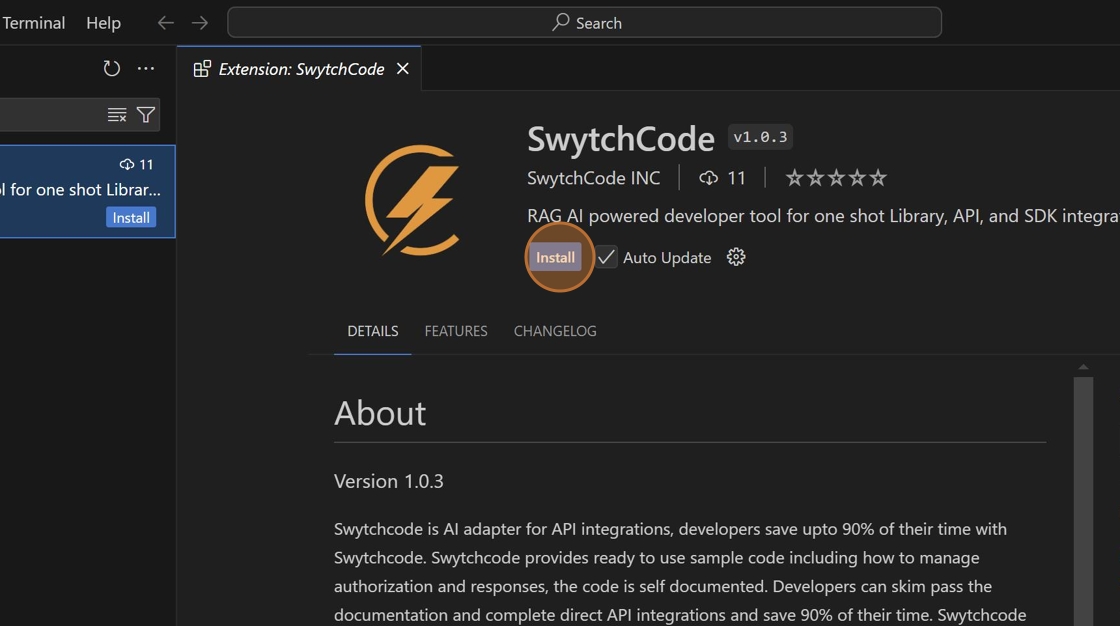
- Click “Install” to add Swytchcode extension to VScode
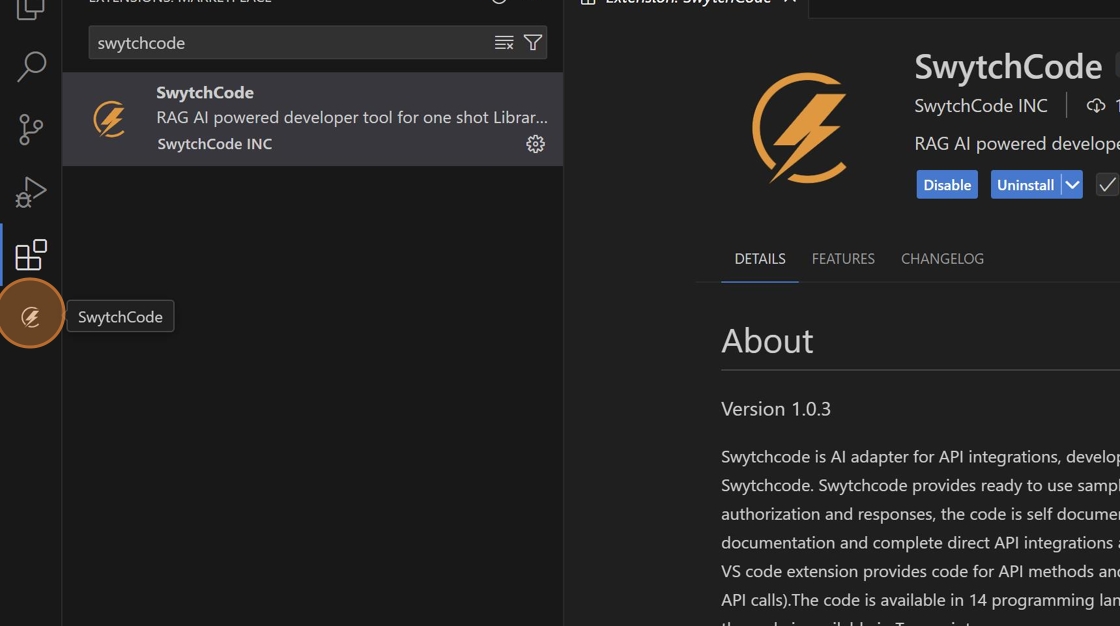
- Success : Once the extension is added successfully, it will appear on the left pane of VScode.
Installing Copilot agent
To use Copilot agent, you need to have a Github account
- Visit https://github.com/apps/swytchcode to install the Swytchcode Copilot agent.
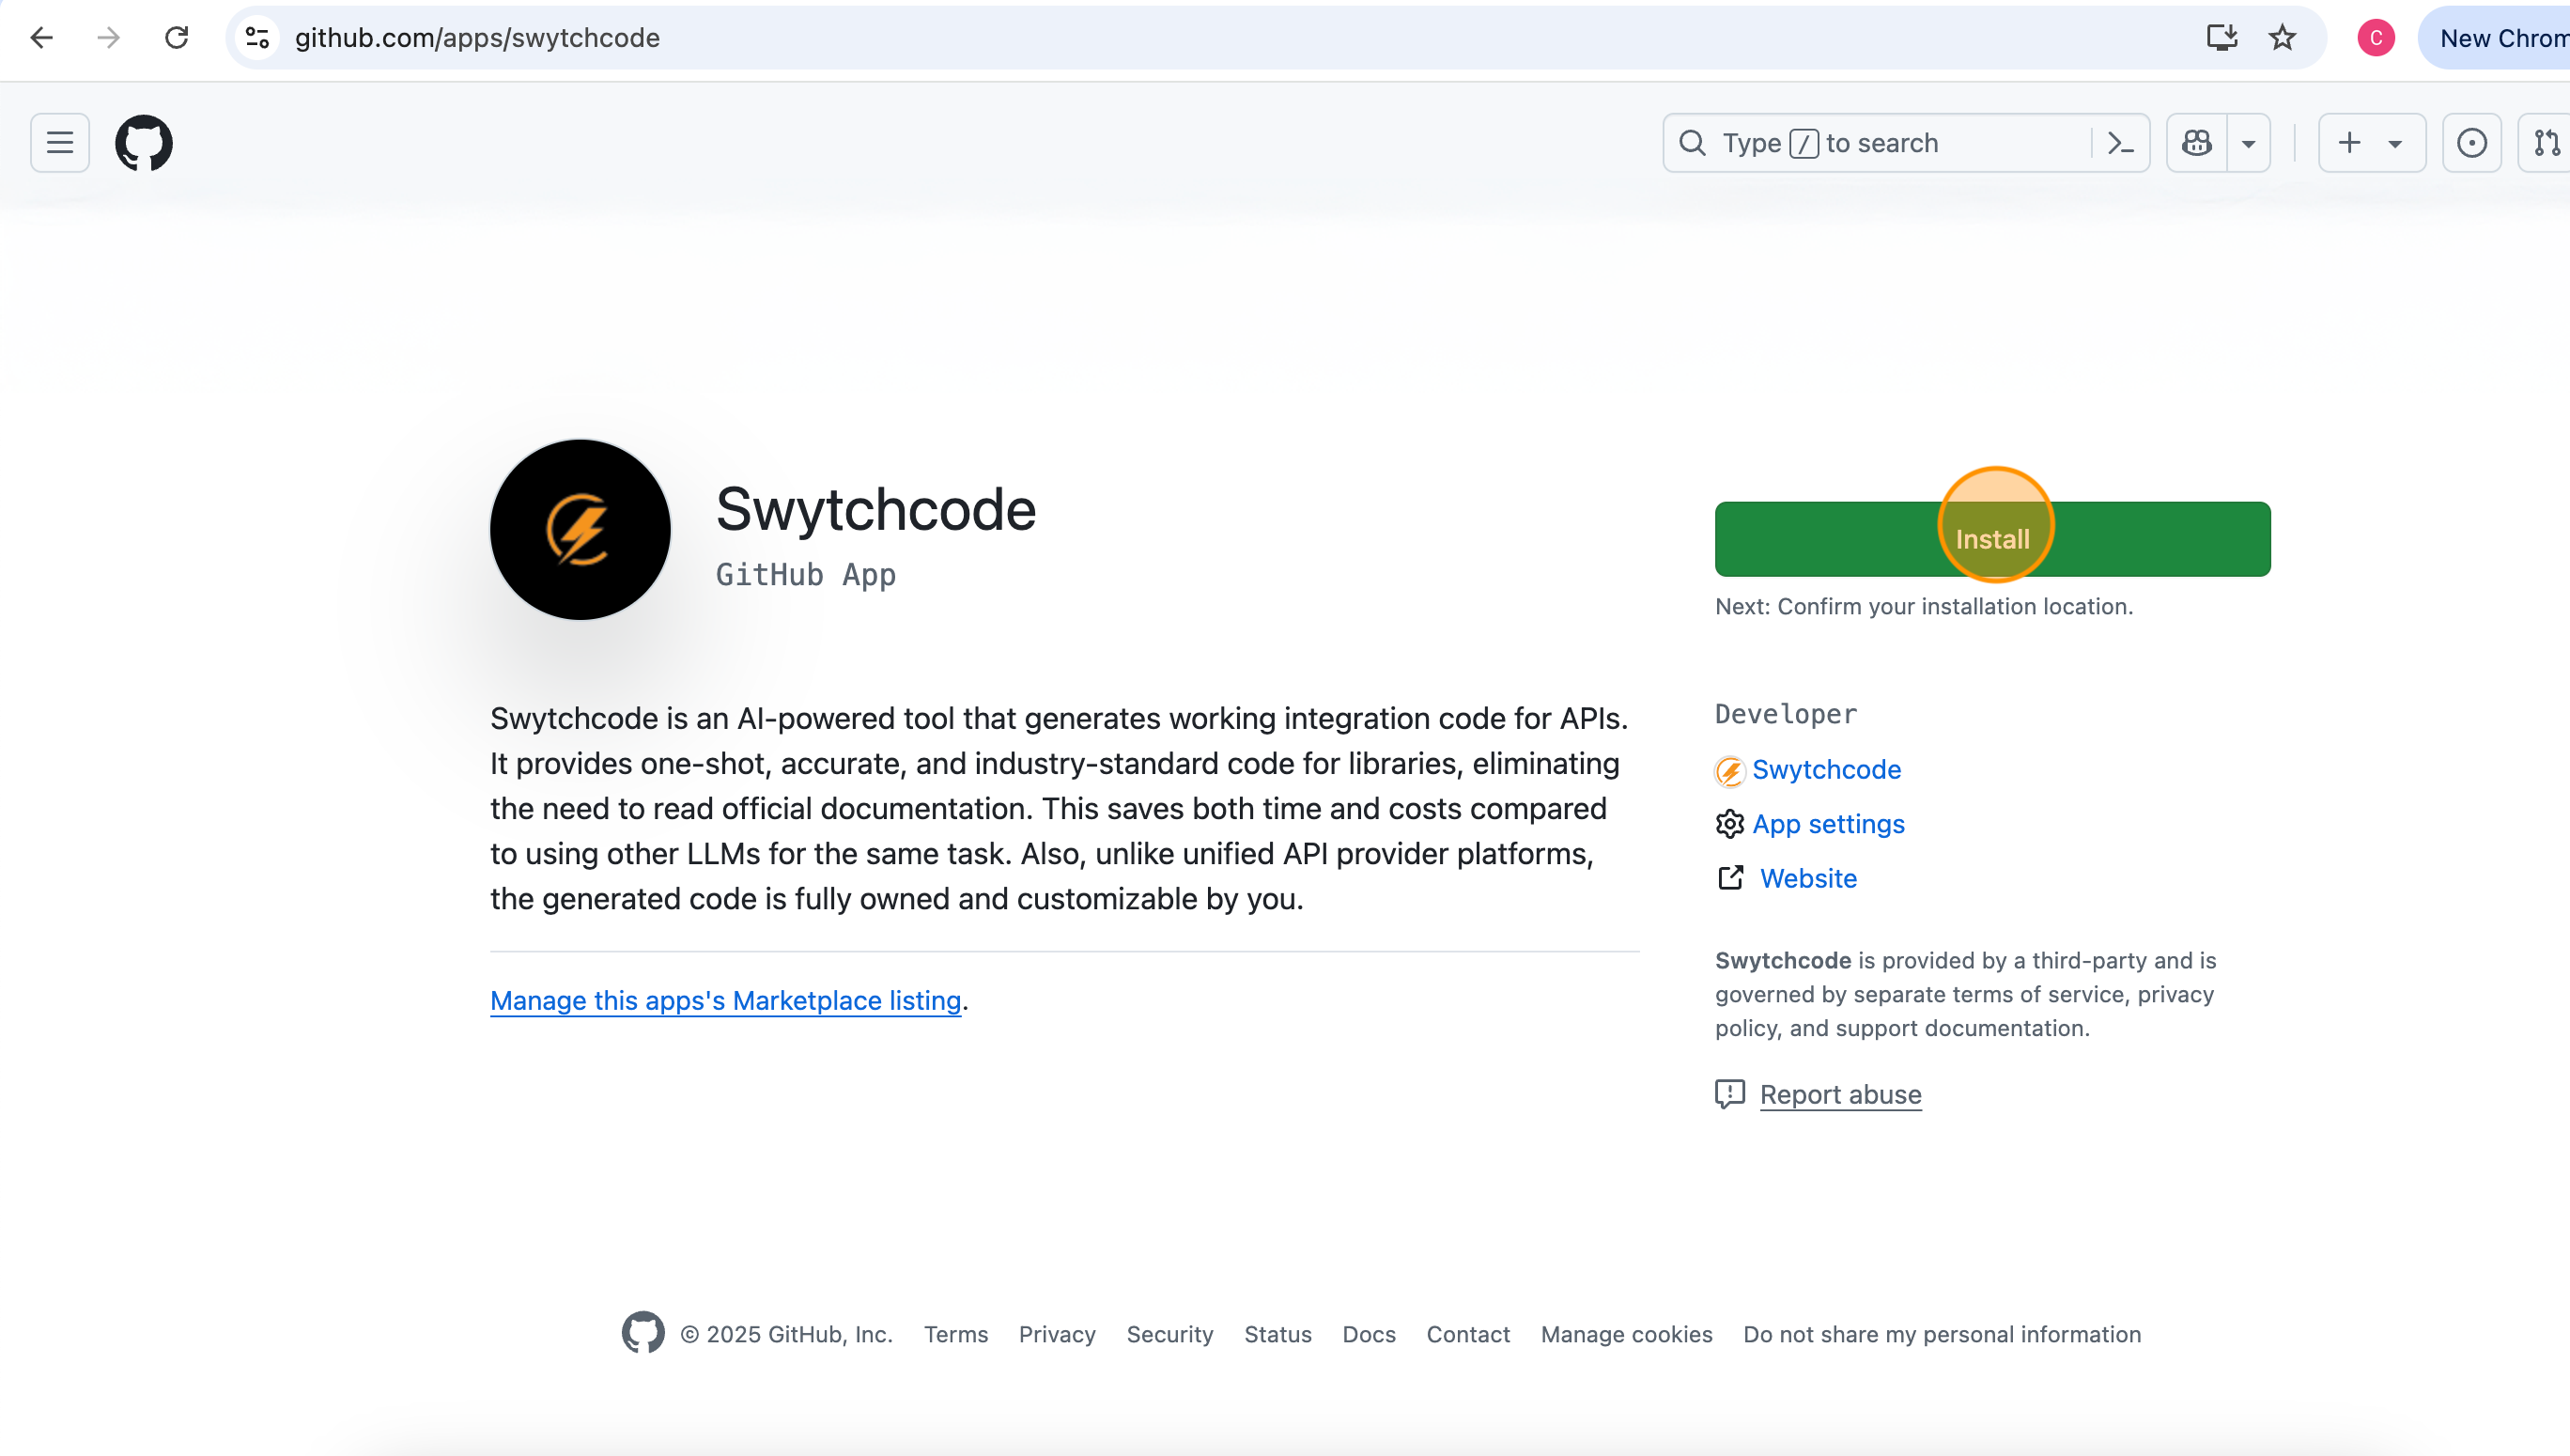
- Accept the permissions required by the agent
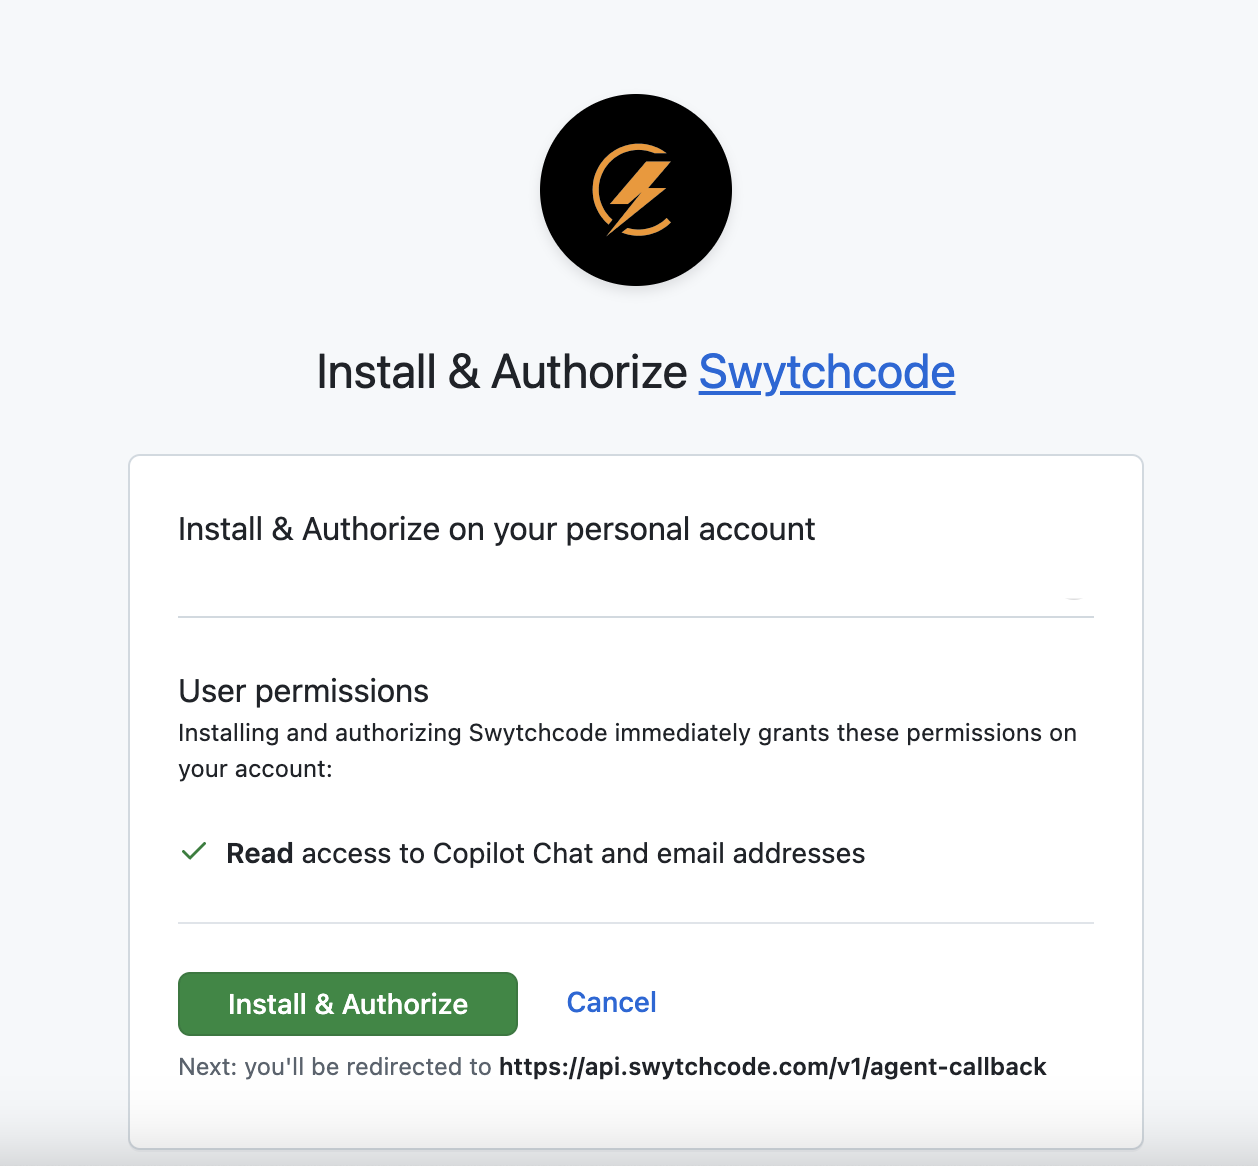
- Once installed, you can access the Swytchcode agent in any Copilot interface. You will also receive an email to reset your password—please update it to ensure seamless access to other interfaces.
You may skip the Create an account step if you have installed the copilot agent and directly move to using the agent here